RFDuino Beginnings
Warning - Datasheets, sample apps and SDKs are no longer available for this product
I have been flirting with BLE for a while now, using different modules such as the RedBear Labs Arduino shield and the Dorji UART module. There is nothing wrong with either product both are great at what they do, however one is limited to UART and the other is rather large. Both require an external micro controller to do anything cool with.
Anyway, I found the RFduino and ordered one. I managed to get it all working within 20 minutes so here are my initial thoughts and findings. You will need an iOS device (4S onwards have BLE) to get what I have in this blog working. I will cover how to get a custom iOS and Android app working with this shortly.
First thing to note is the size of it. It is very small considering that you have both the micro controller and BLE circuitry all in one tiny package. The picture below shows the USB programmer and the RFduino on a dev board. If you were to drop the RFduino directly onto your own PCB it would only take up less than 20x20mm! Considering you are also getting an ARM Cortex M0 that can be programmed like an Arduino it really does become quite useful.
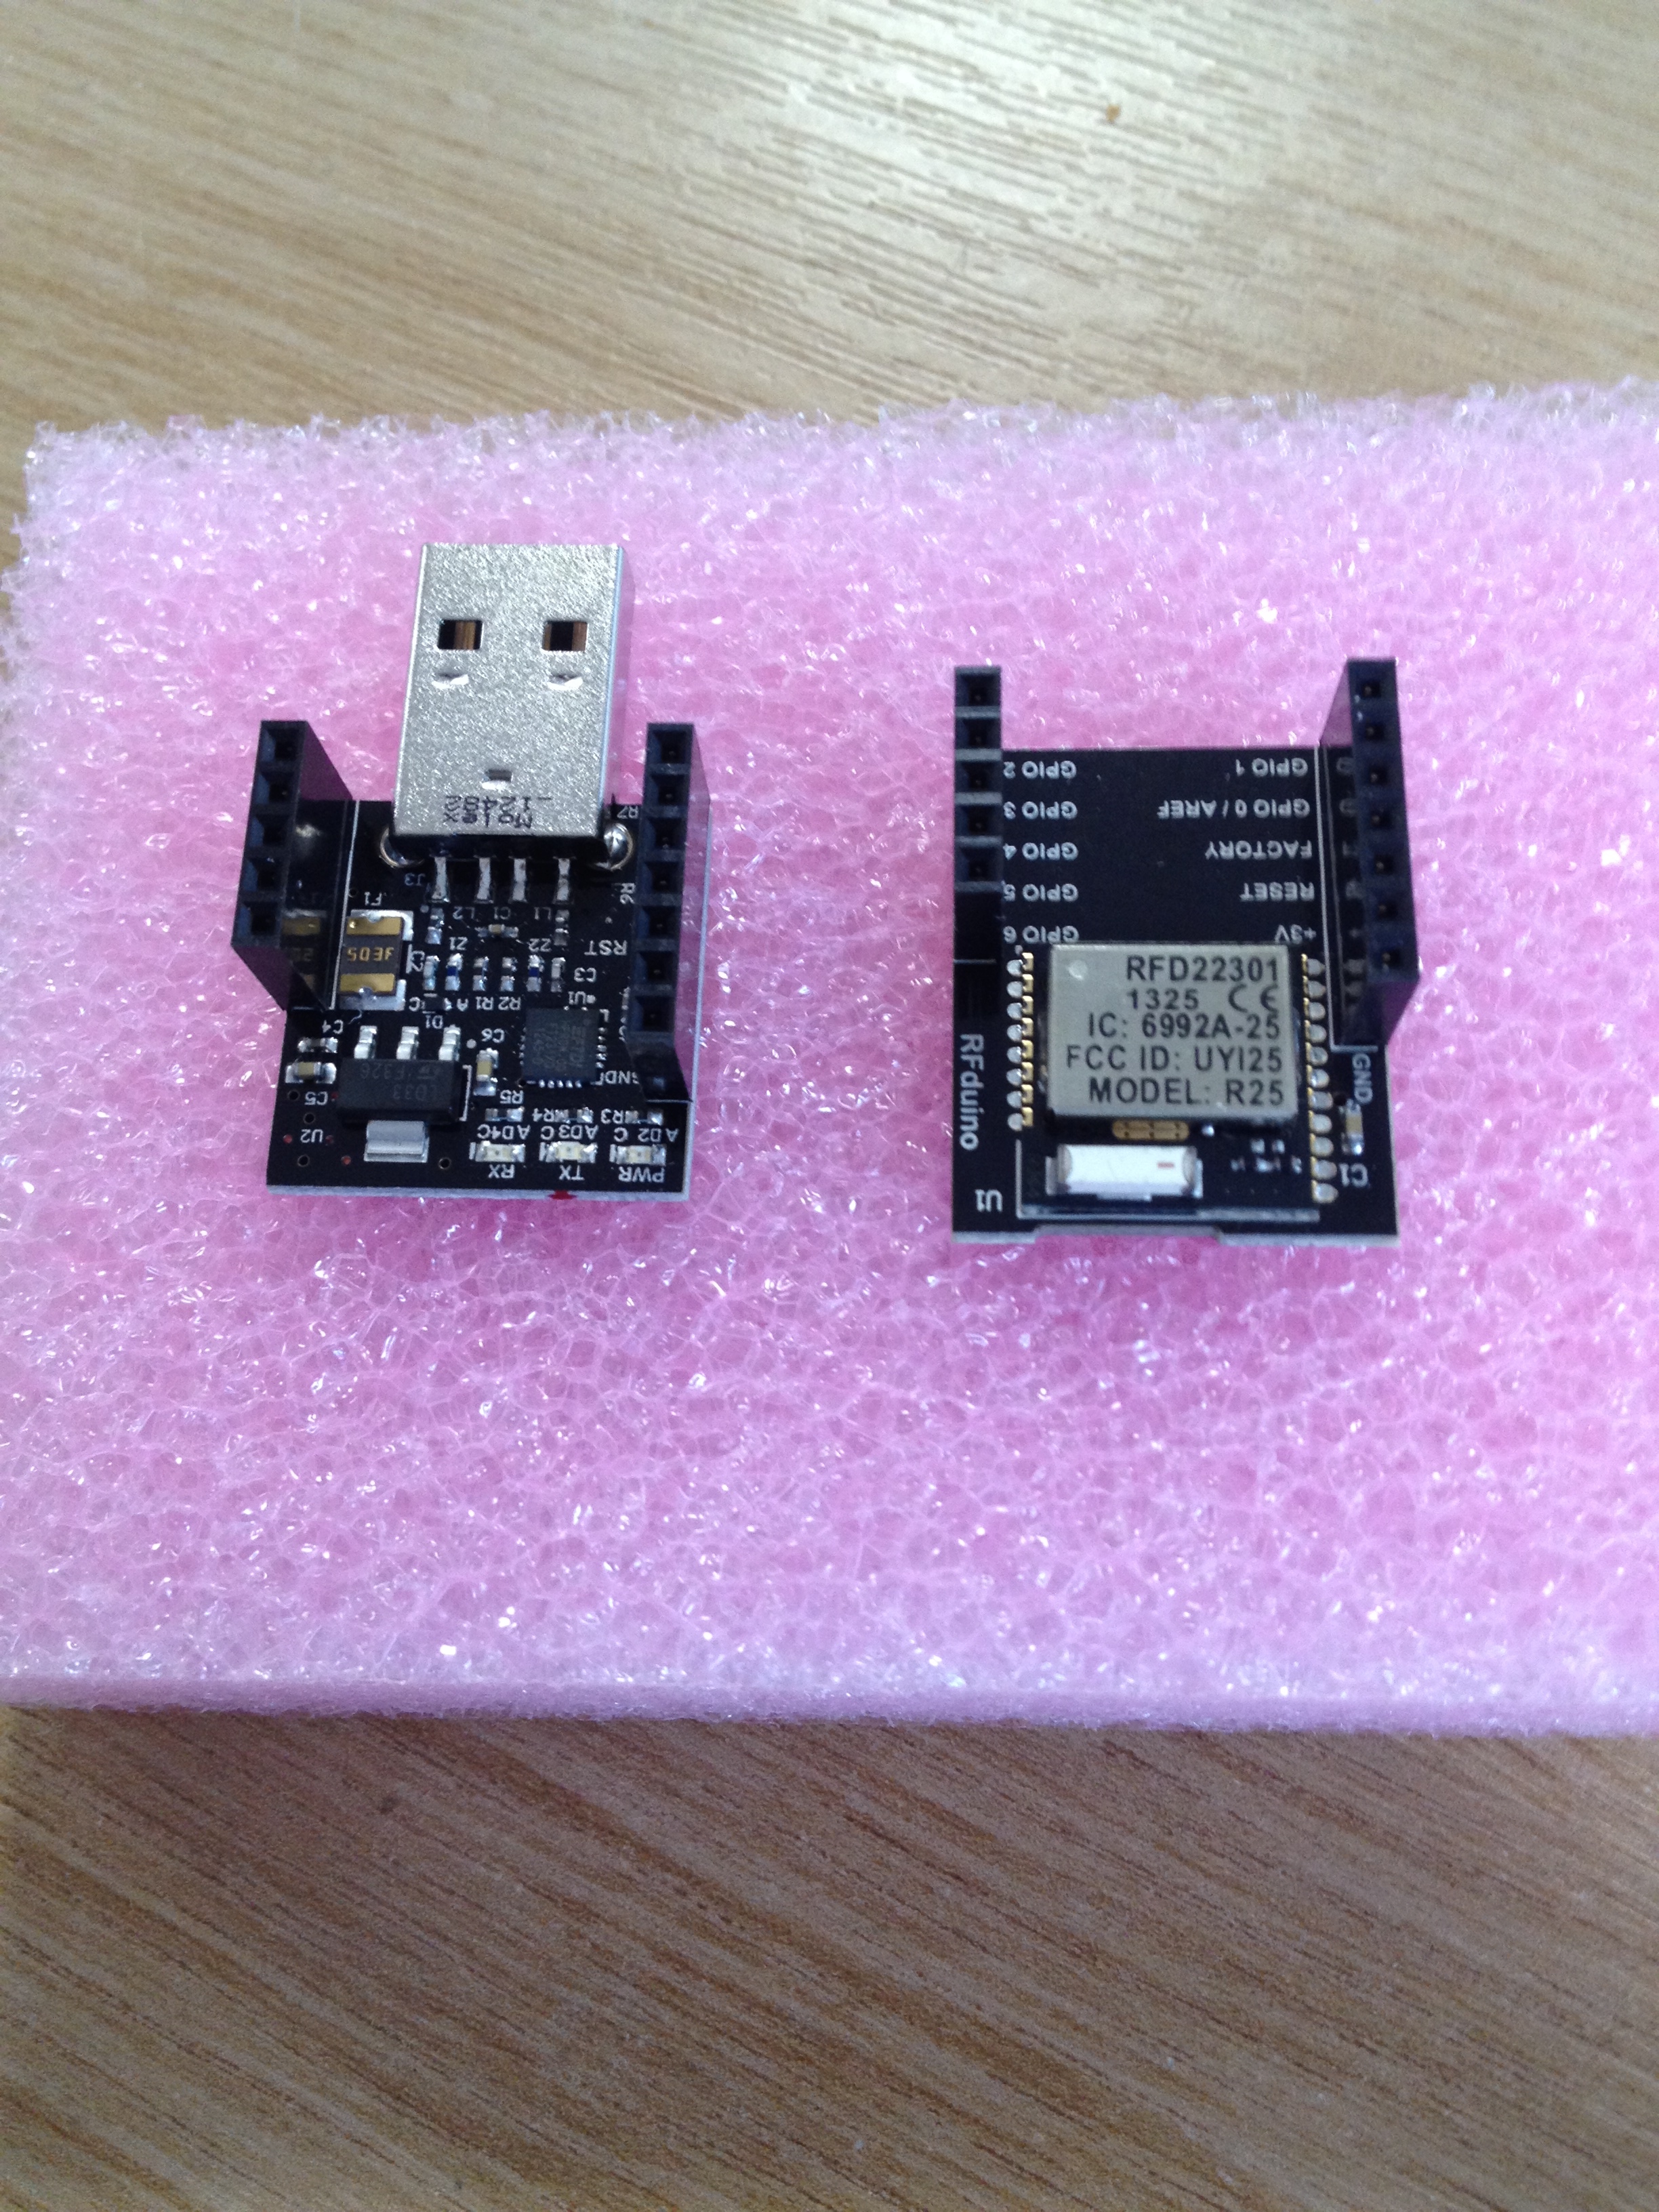
The above only costs £30 from RS, the RFduino PCB singular is £10 which does make this quite a cheap package if you are wanting to start experimenting with BLE.
Setting up the RFduino is mostly a simple task if you have used any similar hardware. I will just glide over it to give a brief synopsis of what is needed. Feel free to message me with any questions if you like!
1. Get the latest Arduino IDE from here and install on your PC/Mac. You will need the 1.5.6 R2 build, as there is support for ARM architectures etc
2. Download the RFduino zip package from (Link no longer available). Unzip and place in the following directory: programFiles/Arduino/Hardware/arduino (there should be two folders in the directory already called 'sam' and 'avr' to make sure you are in the right place). On a mac go to applications and right click the Arduino application, select show 'show package contents'. Then drop the file in: contents/resources/java/hardware/arduino. This gives the Arduino IDE the information to program the RFduino.
3. Open the RFduino folder and then the libraries folder inside it. Copy the RFduinoBLE folder and place it in the Arduino libraries folder (this will be found at the same level as the hardware folder). This will give us all of the RFduino example code.
4. Now all that is needed is to set up your PC/Mac to connect to the USB programmer. The programmer uses an FTDI chip so download the correct VCP FTDI driver for your system from here and install. There is quite a handy FAQ section on their website if you face difficulties - I did.
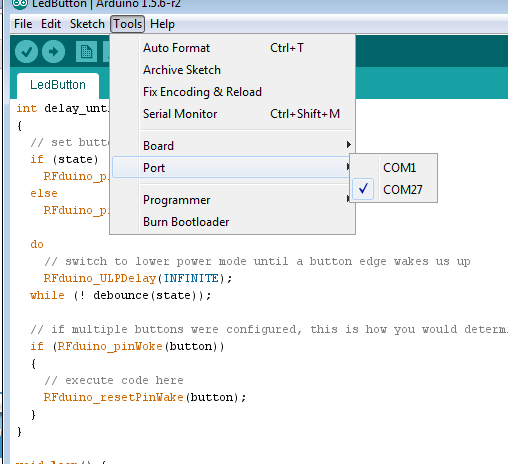
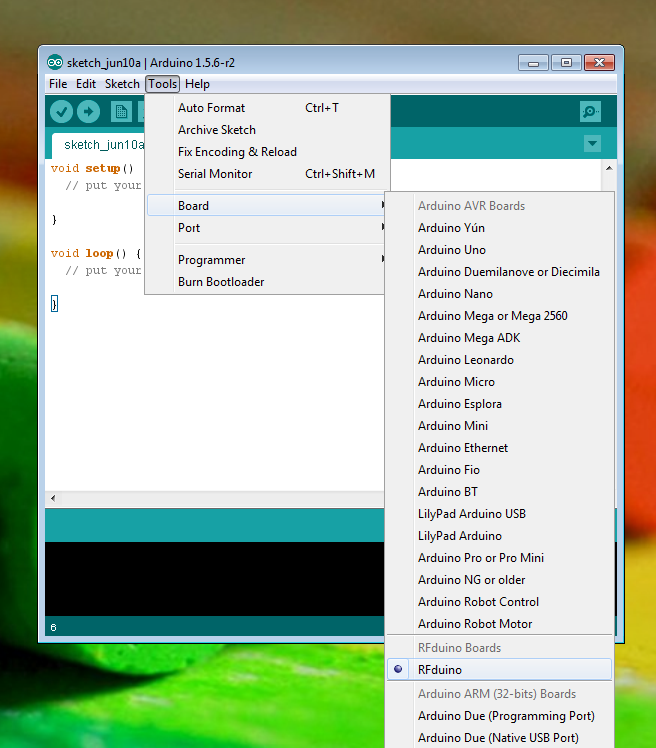
Now plug in your RFduino. Open the Arduino IDE and load the temperature sketch from the RFduino section of the examples section. I like chose this one because it involves no other hardware. Select 'RFduino' as your board and finally set your COM port correctly, usually this is automatic on Windows (normally tty.usbserial on a mac). Both parts are pictured below.
Now upload the sketch to the RFduino. 'Success' should be displayed in orange in the console at the bottom of the IDE if all has gone well. If you get an error, check that your files are in the right place in the hardware and libraries directories. You may have noticed nothing seems to be acting any different.
Get your iOS device out and download the RFduino temperature sample app from the App Store. (App no longer available)
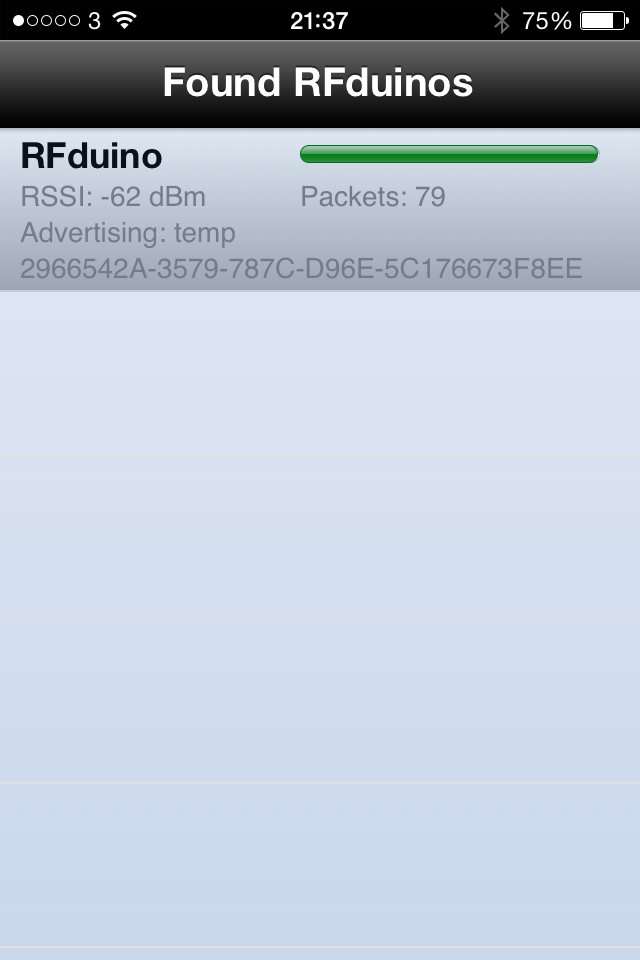
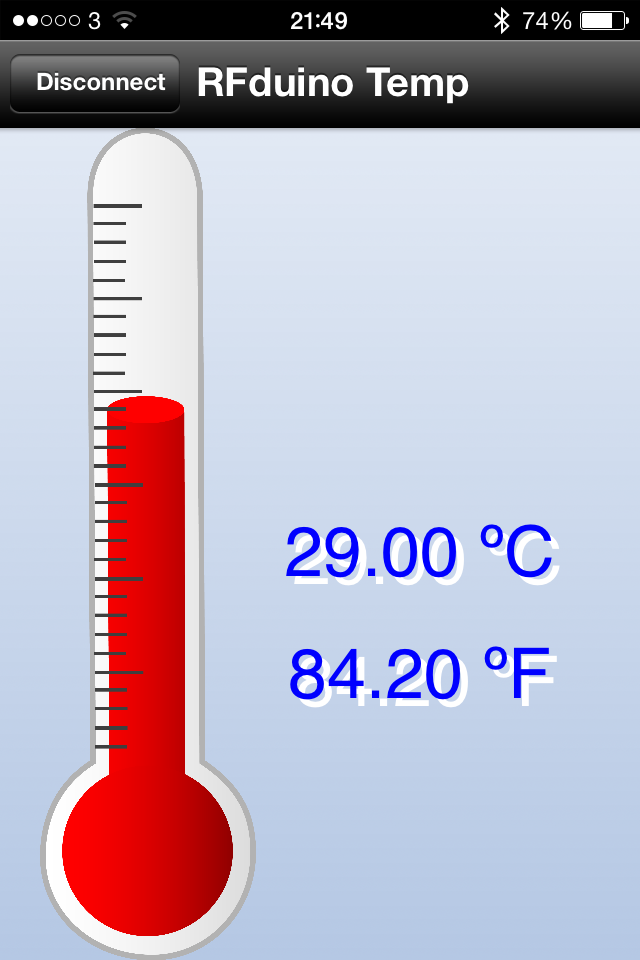
Turn Bluetooth on in settings on your iOS device and load the app. You should now see a list view with one entry showing your RFduino. Press the RFduino entry in the list and it will change view to show you the current temperature from the RFduino board on your iPhone screen. Easy as that.
I would now look at the rest of the examples and see what you can make. RFduino have been generous enough to supply the source Xcode projects for the iPhone apps too in the RFduino folder. There are also more finished sample apps on the App Store if you search for RFduino.
So far I have managed to get some very interesting projects going by reworking the example sketches and iOS source code. I really like how this allows me to concentrate on the app development side (which is what I am predominantly interested in) without having to spend a lot of time producing hardware. There are some limitations; at this point I don't believe there is an easy way to have a secure pairing between devices but I am hopeful to get a work around.
Below is a screenshot of the current example sketches from RFduino. As you can see there is a wide selection, from servo control, proximity, to iBeacons.

Sorry that this doesn't go into much depth today but I thought it best to get the foundations down first. Very soon I will go through how to modify both the sketch and the iOS sample app so that we can get a bit more functionality.
I hope that was useful in some way. Comment if I missed something etc.